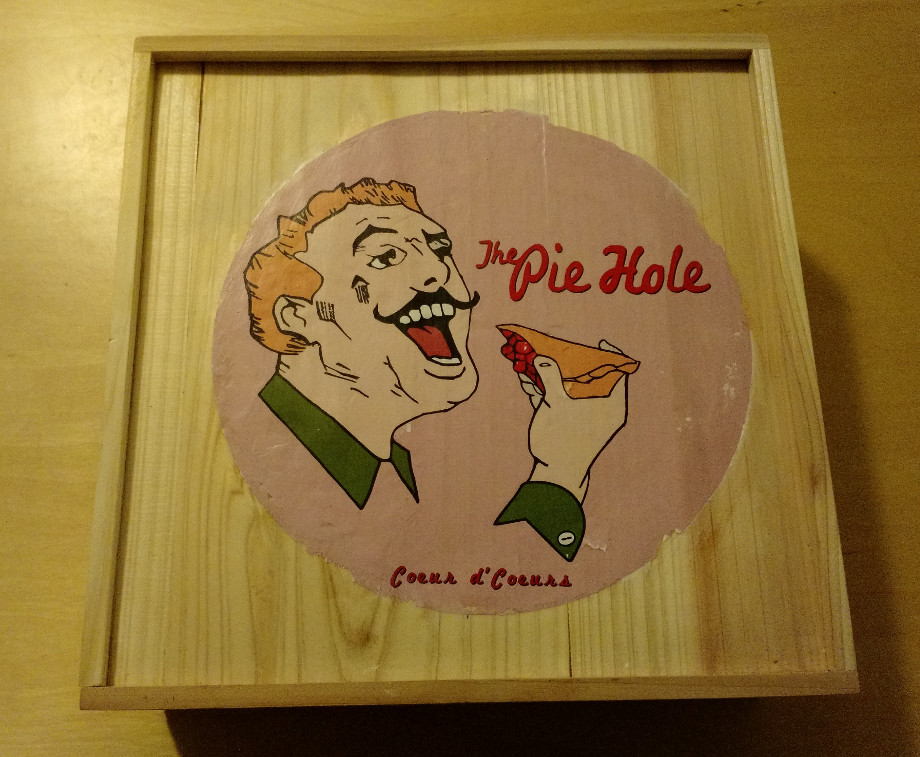
So Pushing Daisies my just be the best tv show ever. The show revolves around a pie baker and his pie shop. Cassie also pretty good at baking pies, so for her birthday I wanted to give her a reproduction of the pie box from the show. I had a pie box, so the only hard part was applying the image to it. The process looks simple enough online, but I found it to be tricky to get good results. I used Mod Podge Photo Transfer Medium. The idea is that you print out a mirror image of your photo on a laser printer, then apply the modpodge to the face of the printout, place it face down on wood, and remove the paper backing, so the image shines through. When I tried it, I kept getting white spots in the middle of the image. Eventually I figured that some of the solution was getting onto the back side of the paper when I pressed the image into the wood. Since the paper and the solution are both white, you can’t see it. And once it dries, the spot’s there for good. After getting that straightened out, I was able to get a good photo transfer. To remove the paper, you dampen it with a wet rag, and then rub the paper off with your fingertip. You can’t see the paper while it’s wet, so you have to remove the paper, let it dry, remove some more paper, and so on. It’s a slow and tedious process. On the third try, I got a transfer that actually worked.
Here’s the results:
-

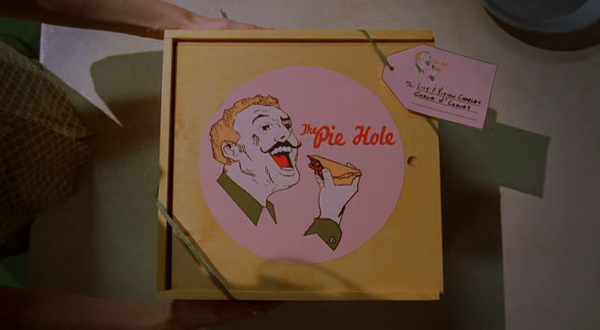
- The original pie box from the tv show
-
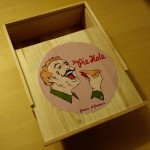
- My recreation
-
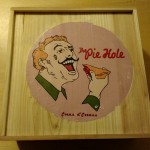
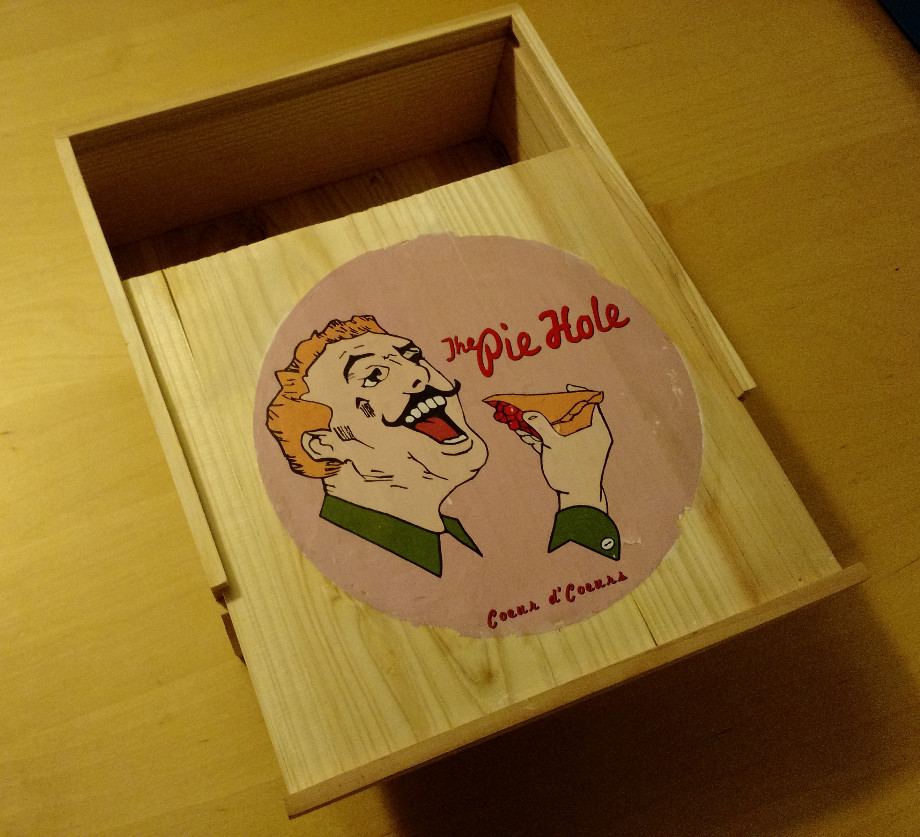
- My recreation
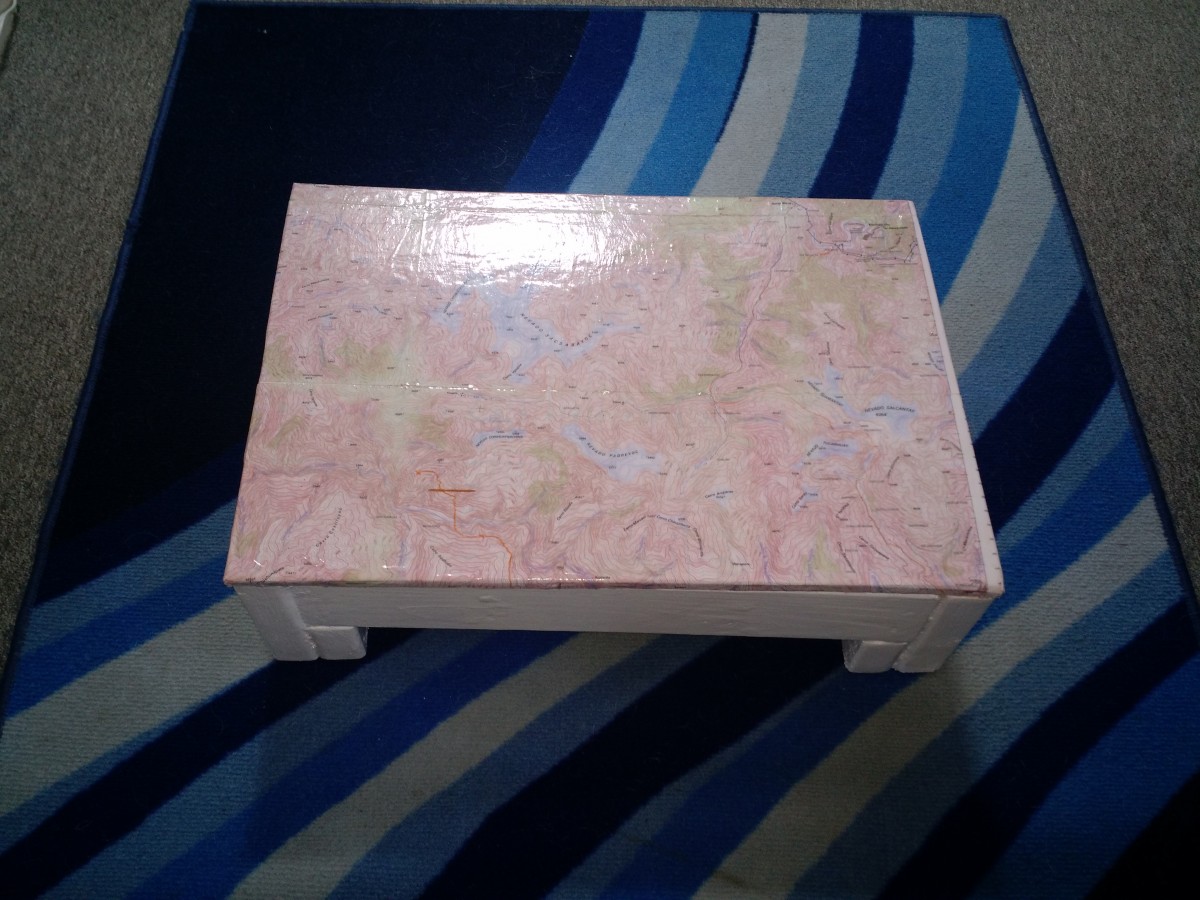
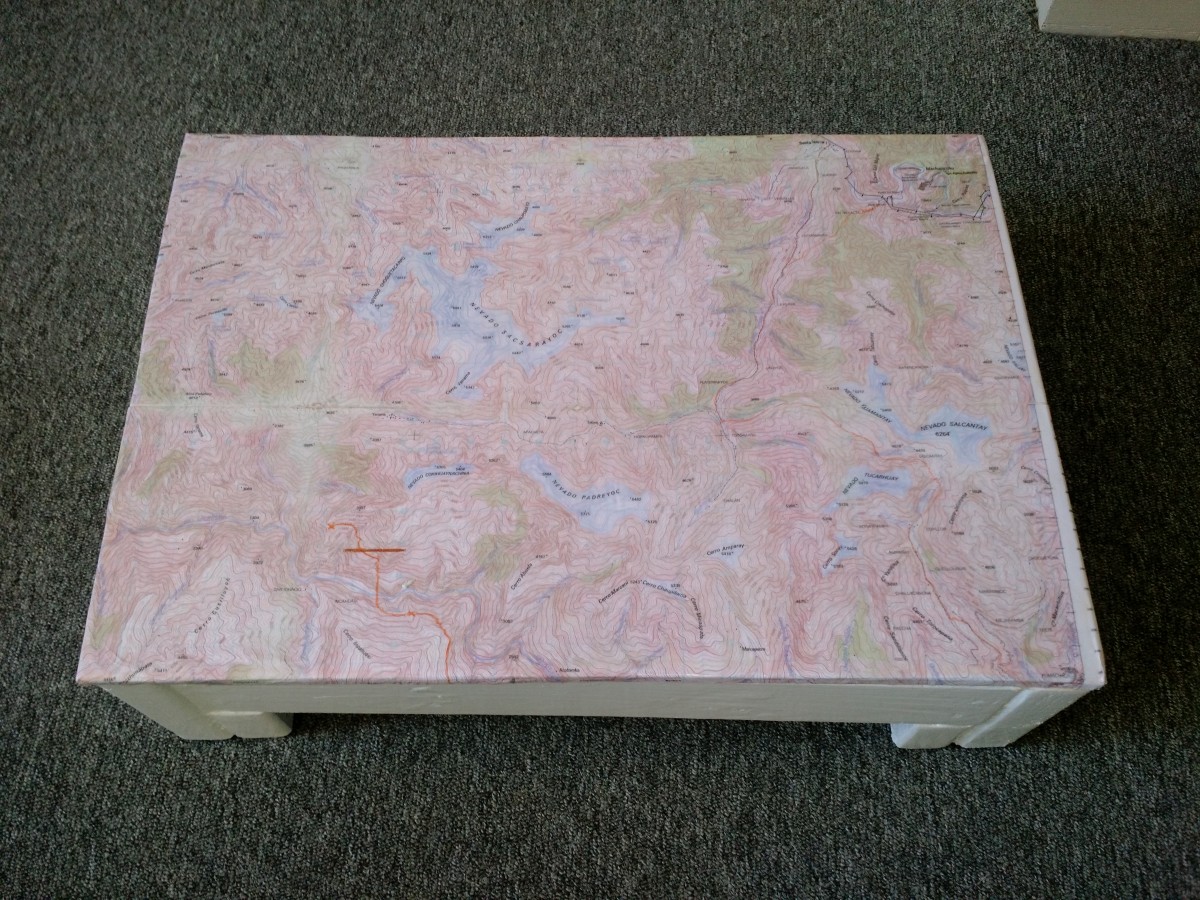
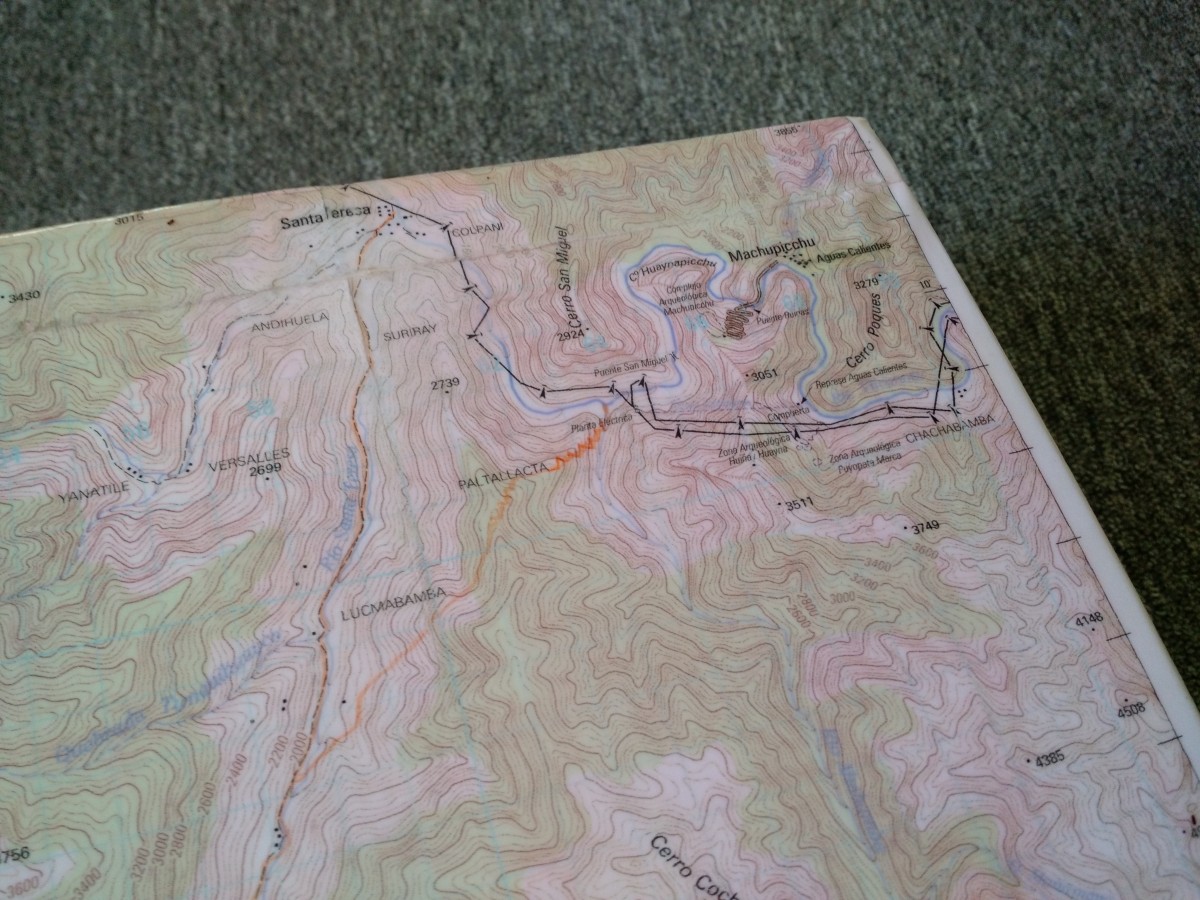
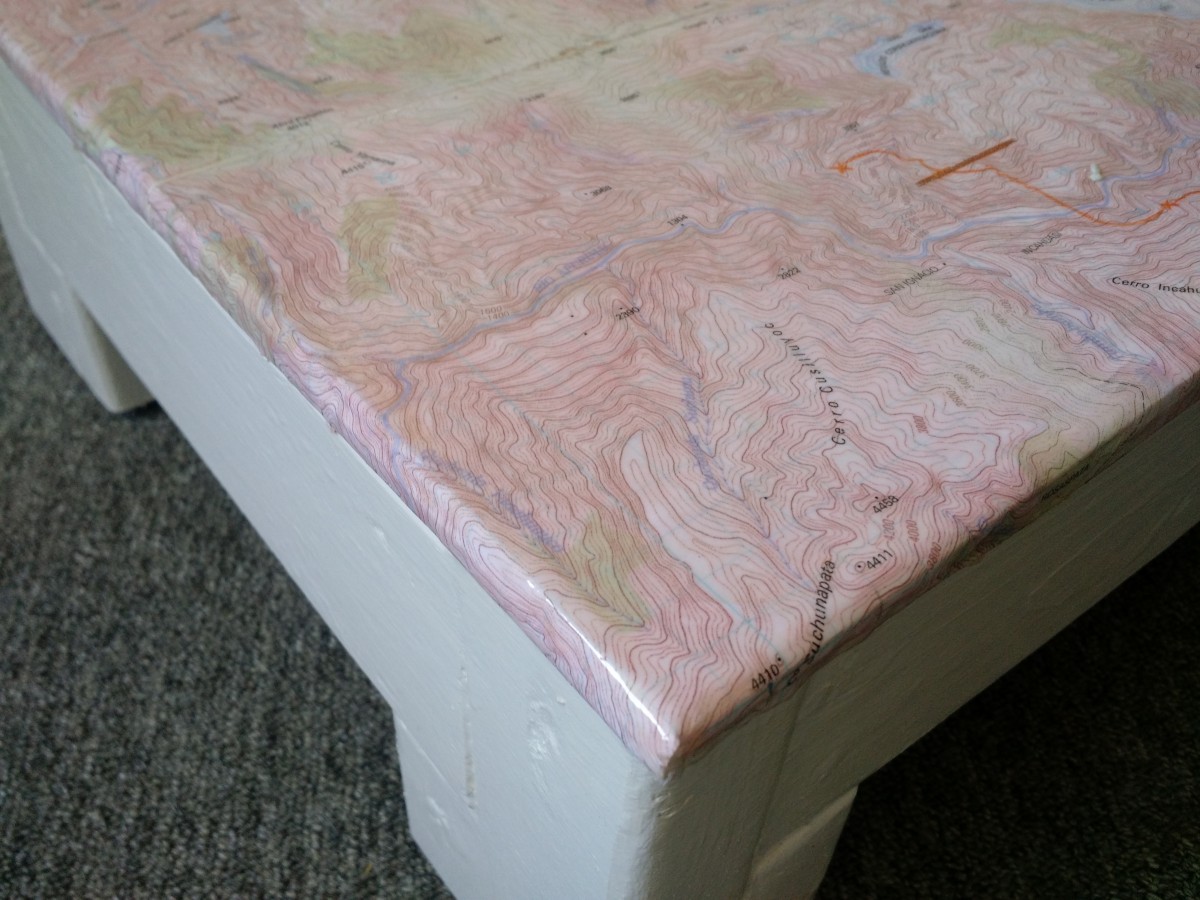
Later I tried a similar project, covering a step with an old paper map of one of our adventures. This time I used the original modpodge, and the process was much easier. I just brushed a coat of the modpodge over the step, placed the map onto it, and brushed another coat over the map. Once it dried I covered it in several layers of polyurethane to make it water proof. So easy. The only problem is that you can still see the paper – It doesn’t look like the photo was painted onto the wood, the way the photo transfer medium does. Still, if I do another project like this, I’m going to use the original modpodge method.