After finishing the nightstand and the bed, the only piece of furniture our apartment lacked was a dresser. Initially I was a bit nervous about trying such a difficult project, but after the other projects turned so well I was feeling pretty cocky, and decided to go for it. My hubris didn’t last.
As usual I got plans from ana-white.com – ana-white.com/2012/01/plans/small-dresser-open-bottom-shelf-cabin-collection
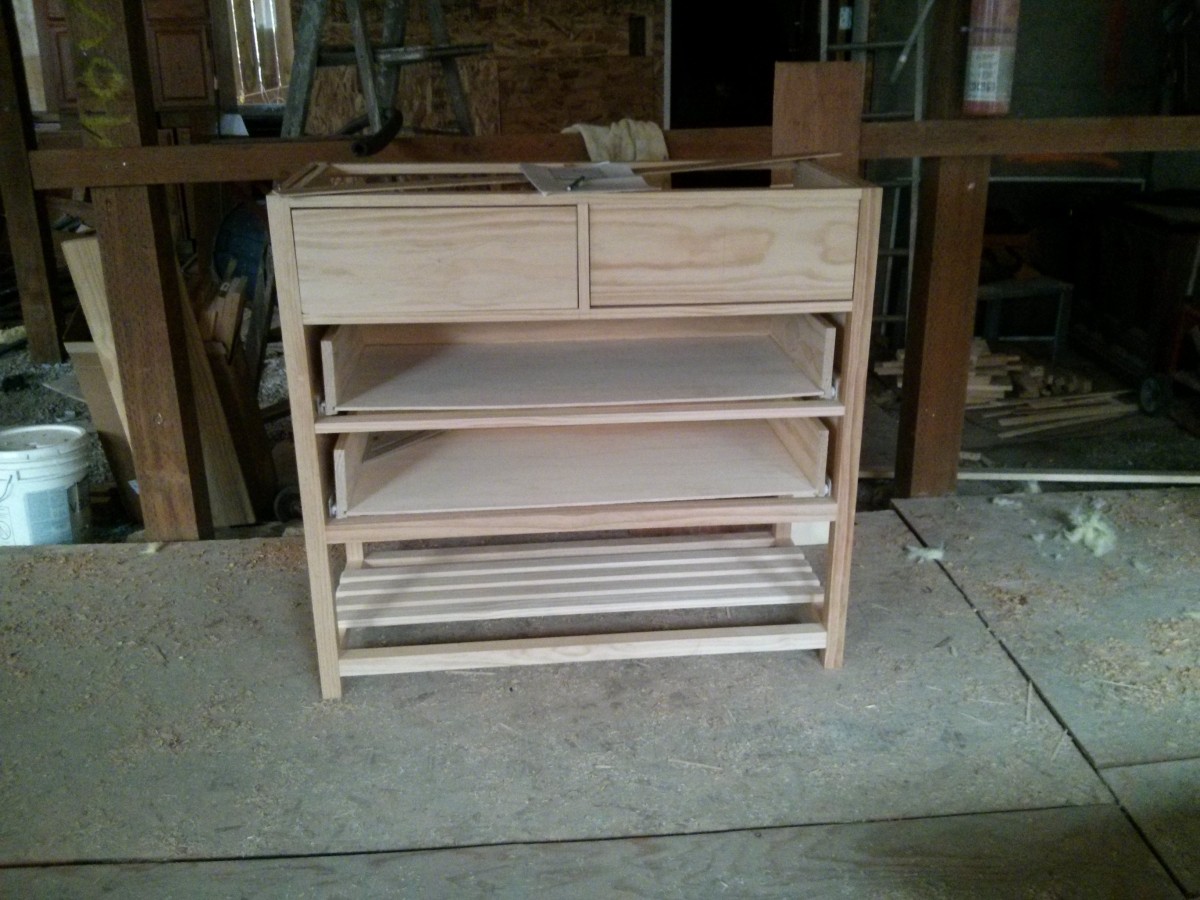
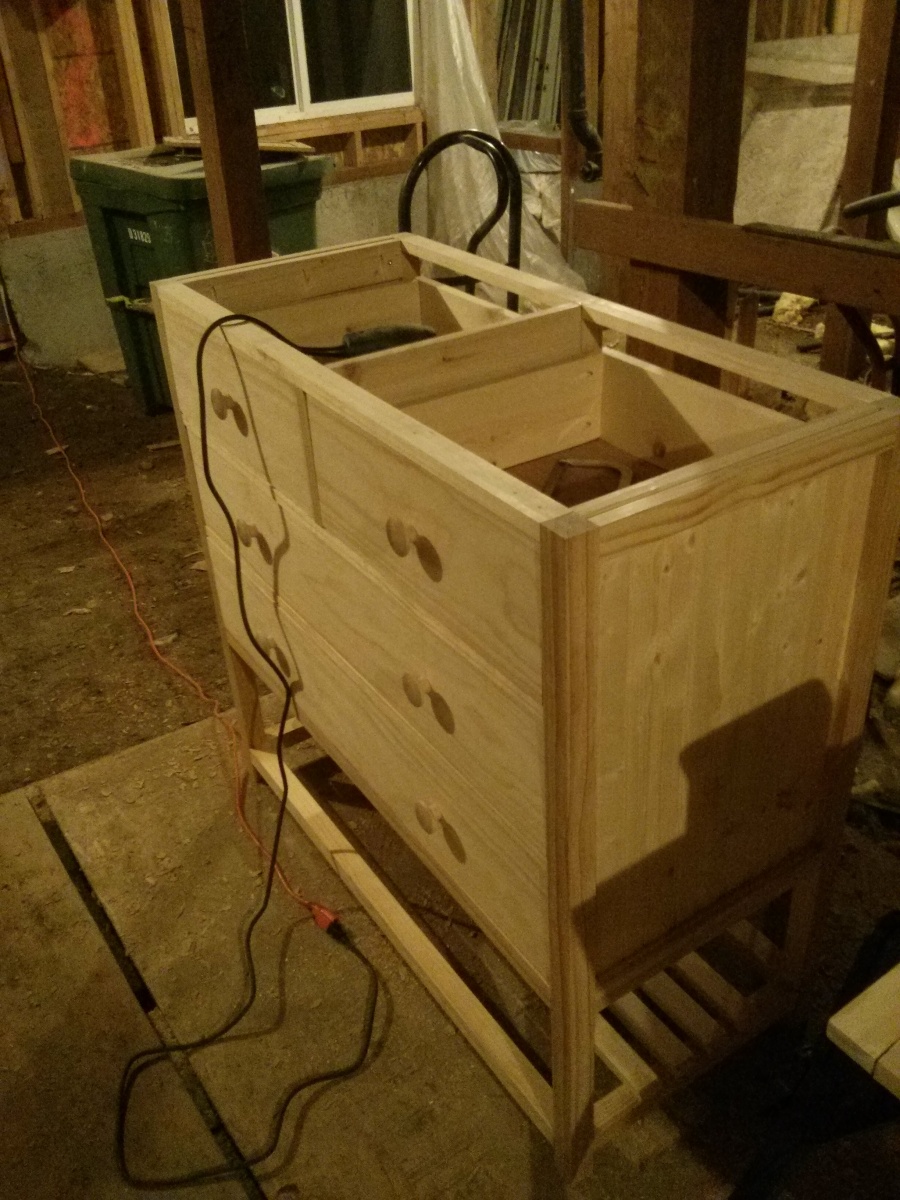
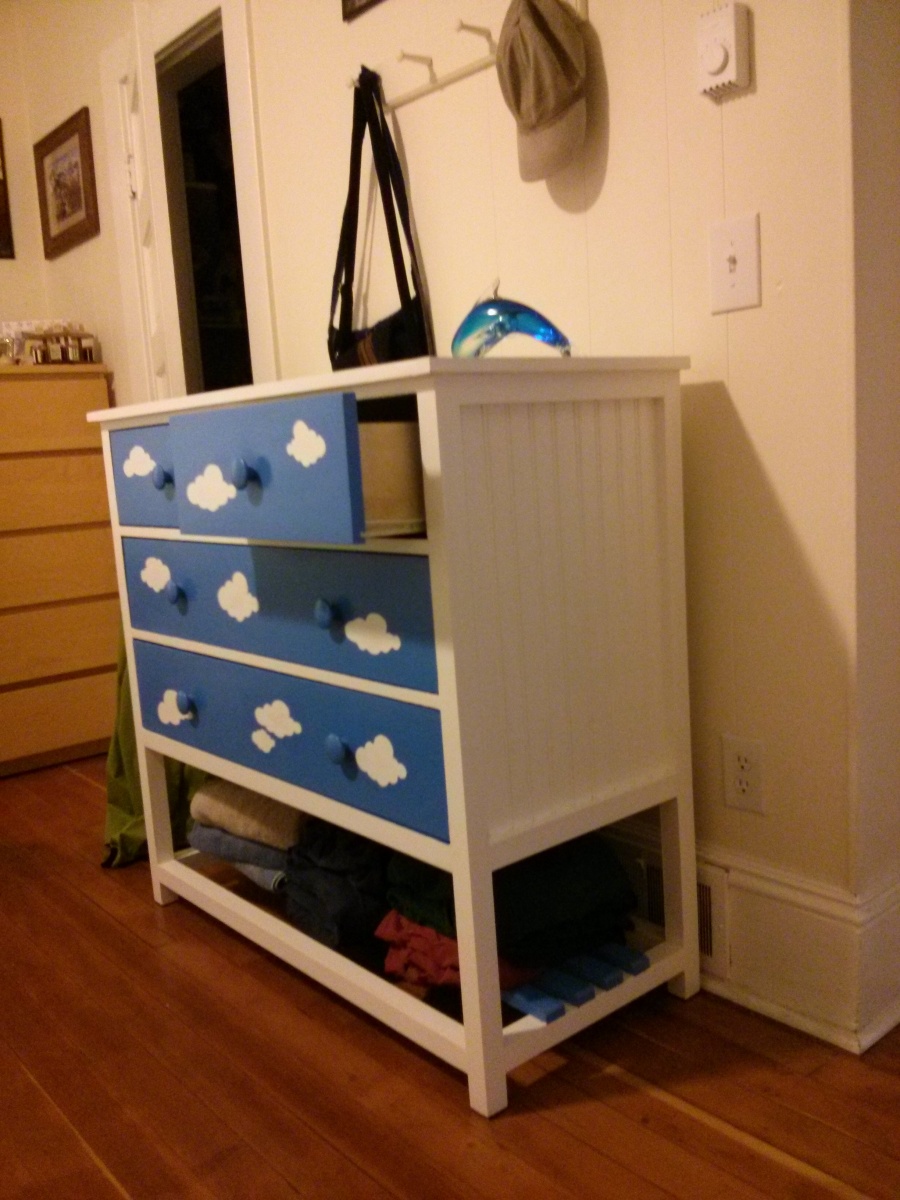
The dresser taught me that just because a drawer looks straight, doesn’t mean it will roll in or out smoothly 🙁 The first time I put the drawers in the frame, they either got stuck halfway out or popped off the rails.
After a lot of frustration, I eventually remeasured the entire frame. Turns out the frame twisted ever so slightly from the bottom to the top. I had to loosen all the screws, and hammer in some temporary cross beams to keep everything straight, measure again, and then tighten everything. It was a really pain in the neck, but now the drawers slide without binding.
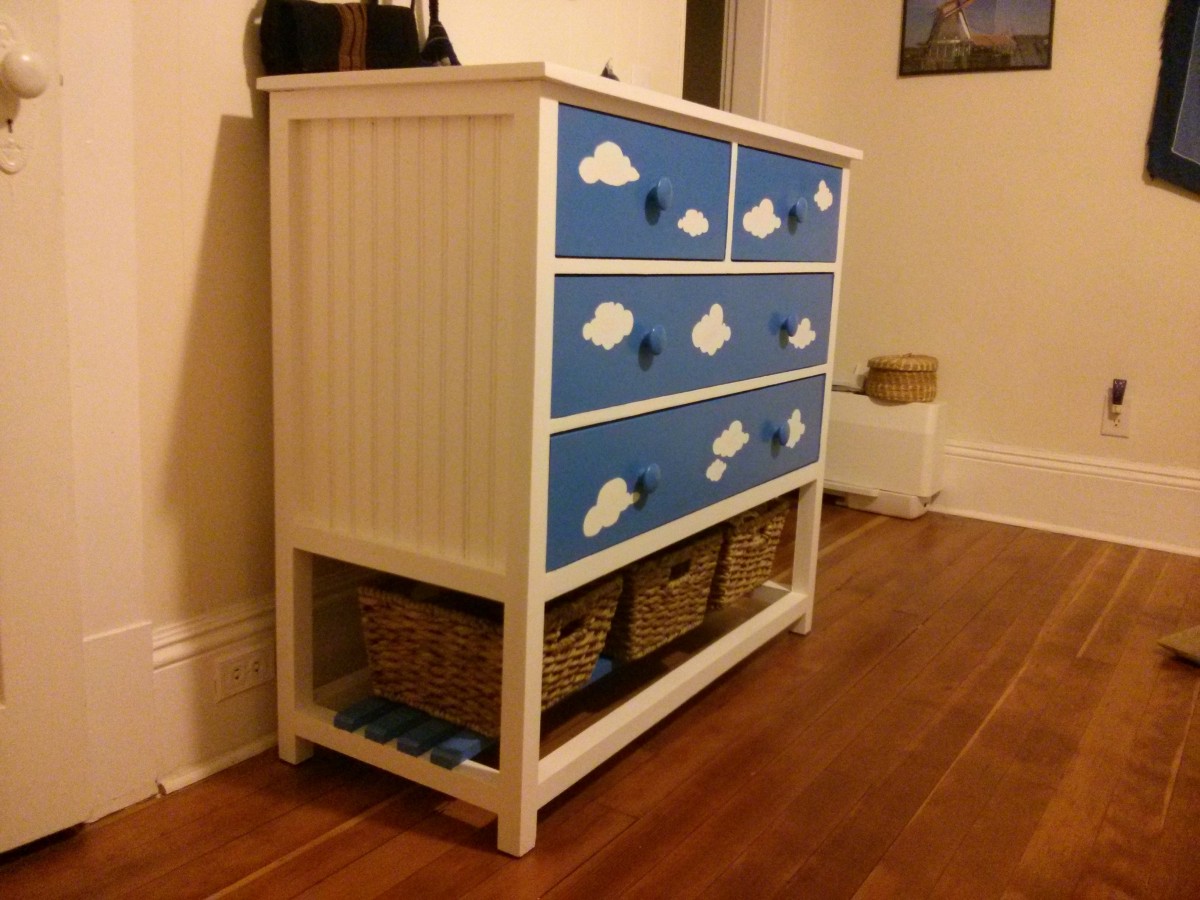
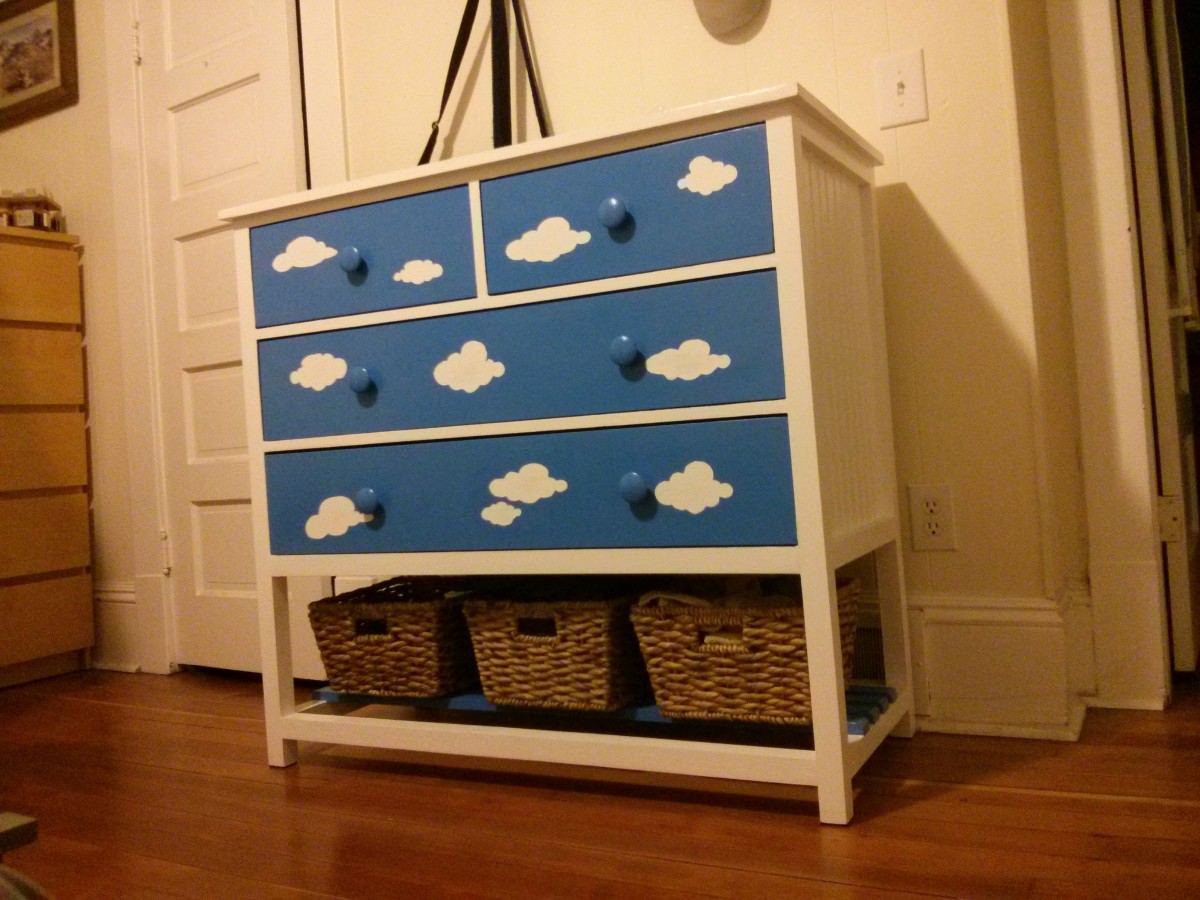
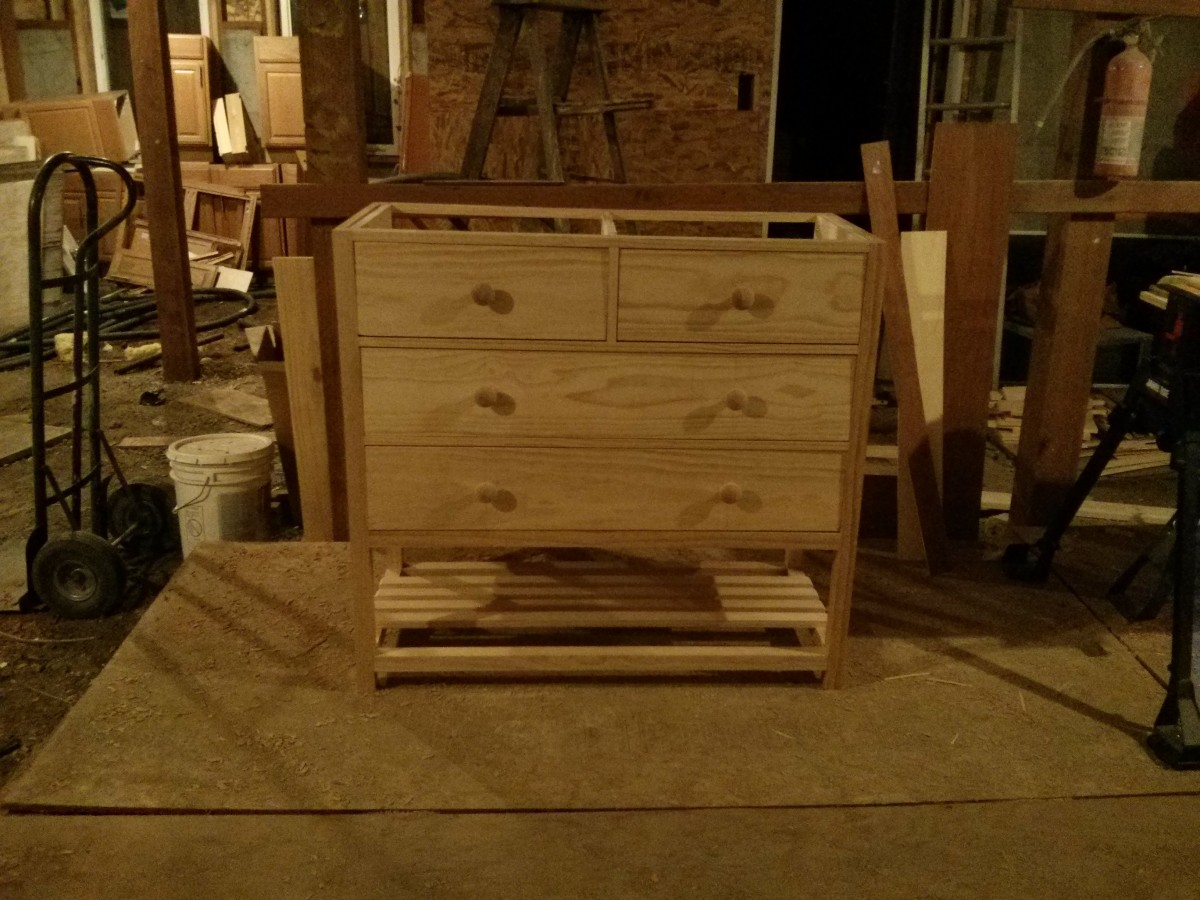
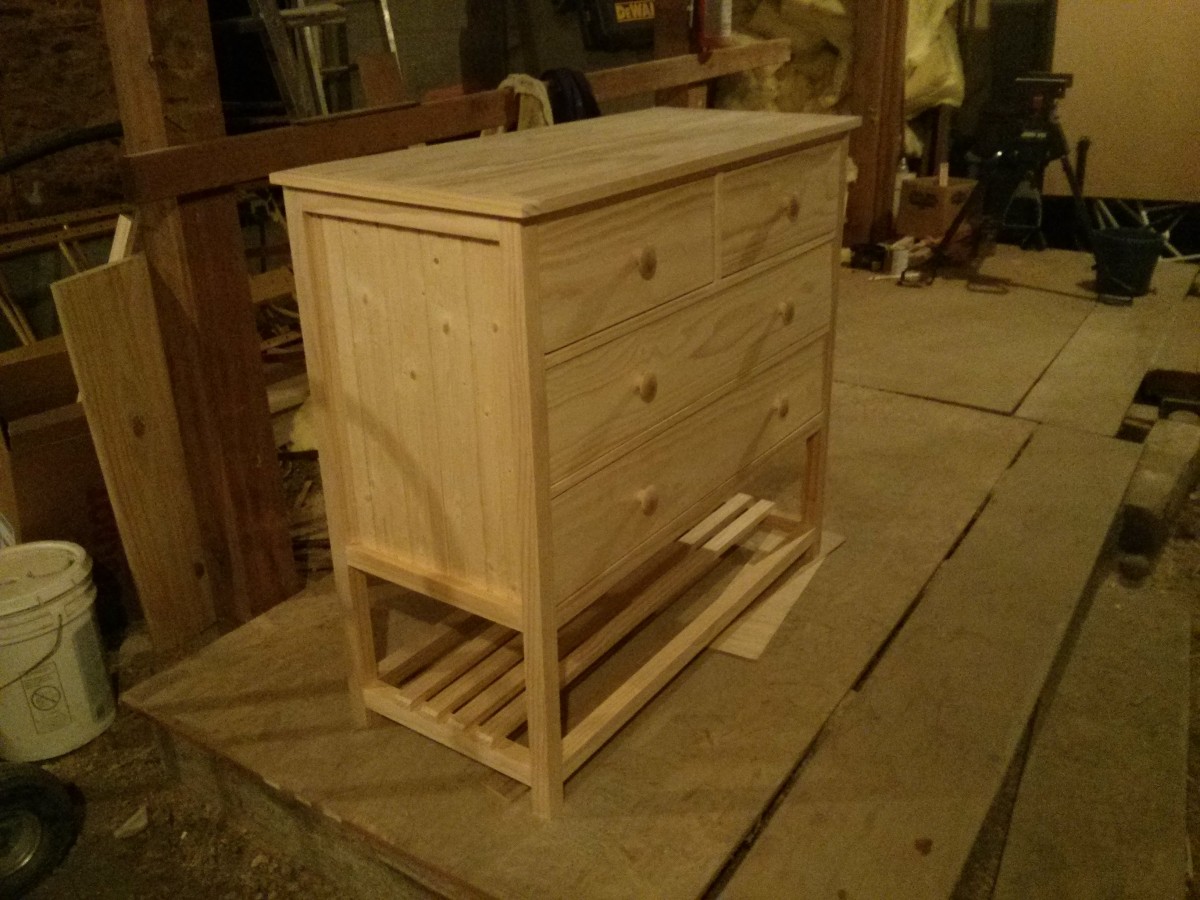
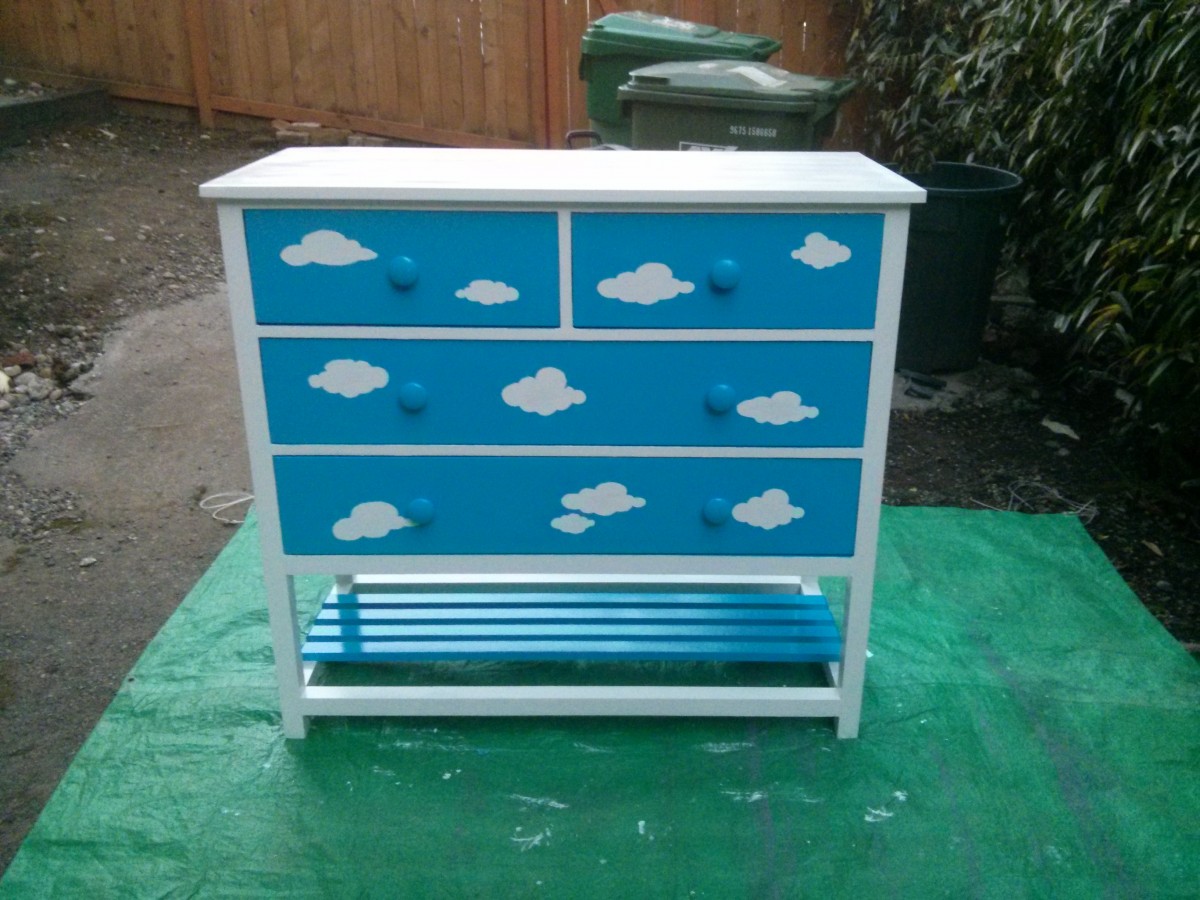
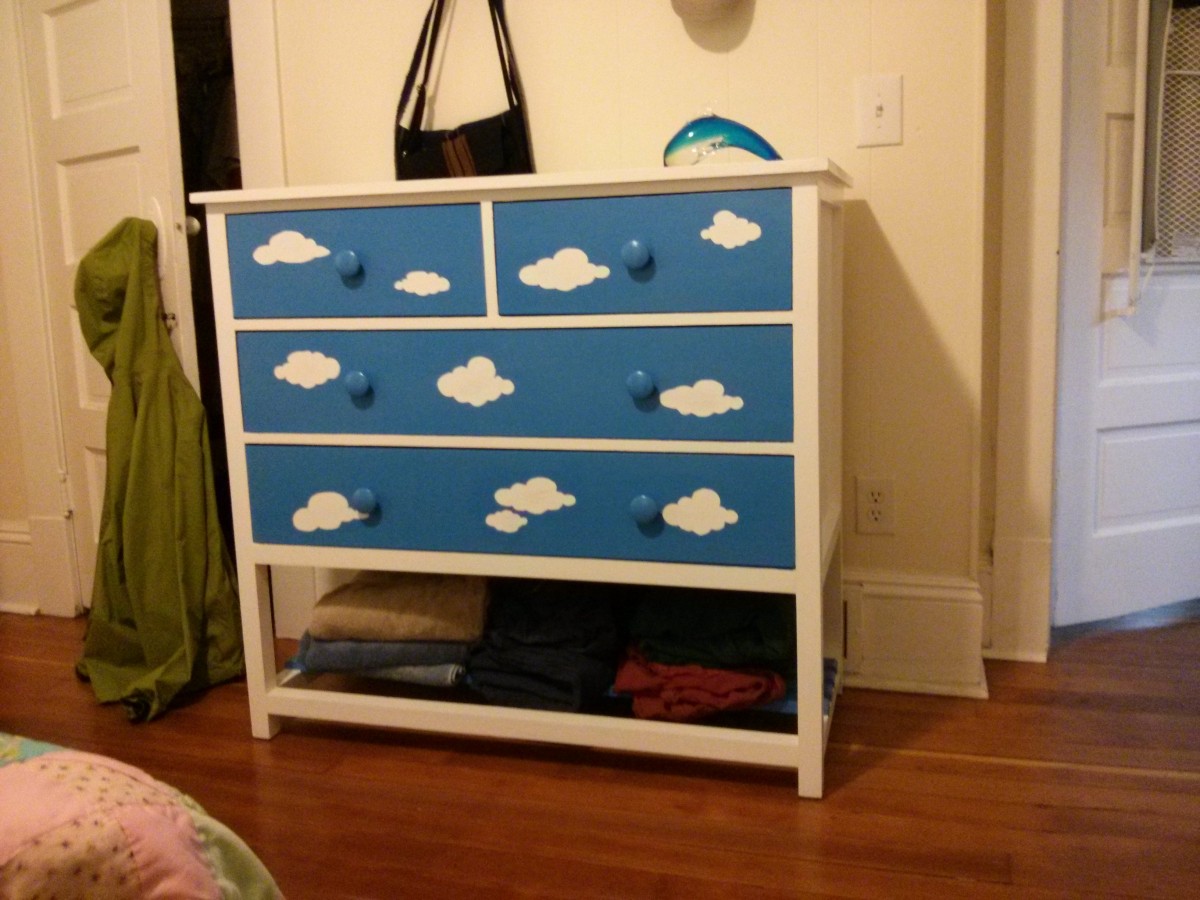
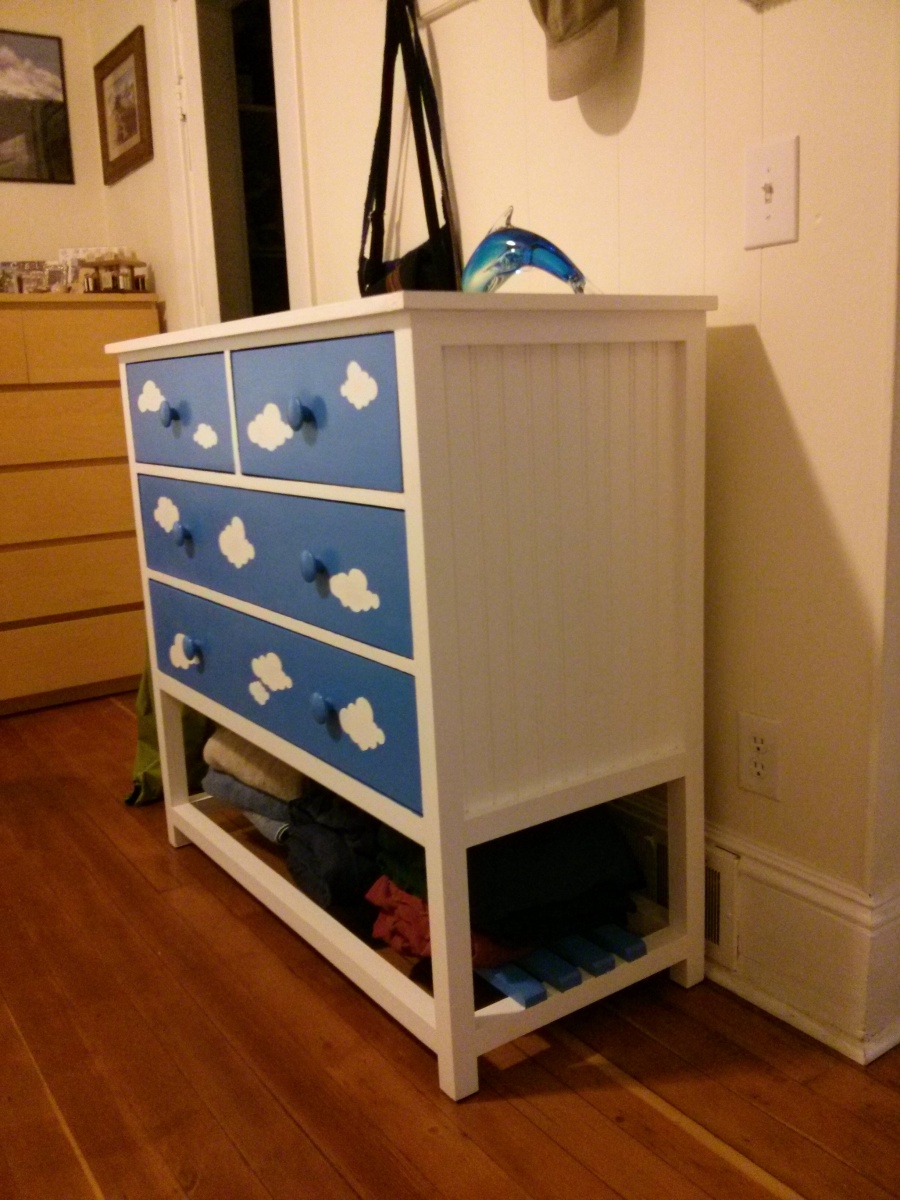
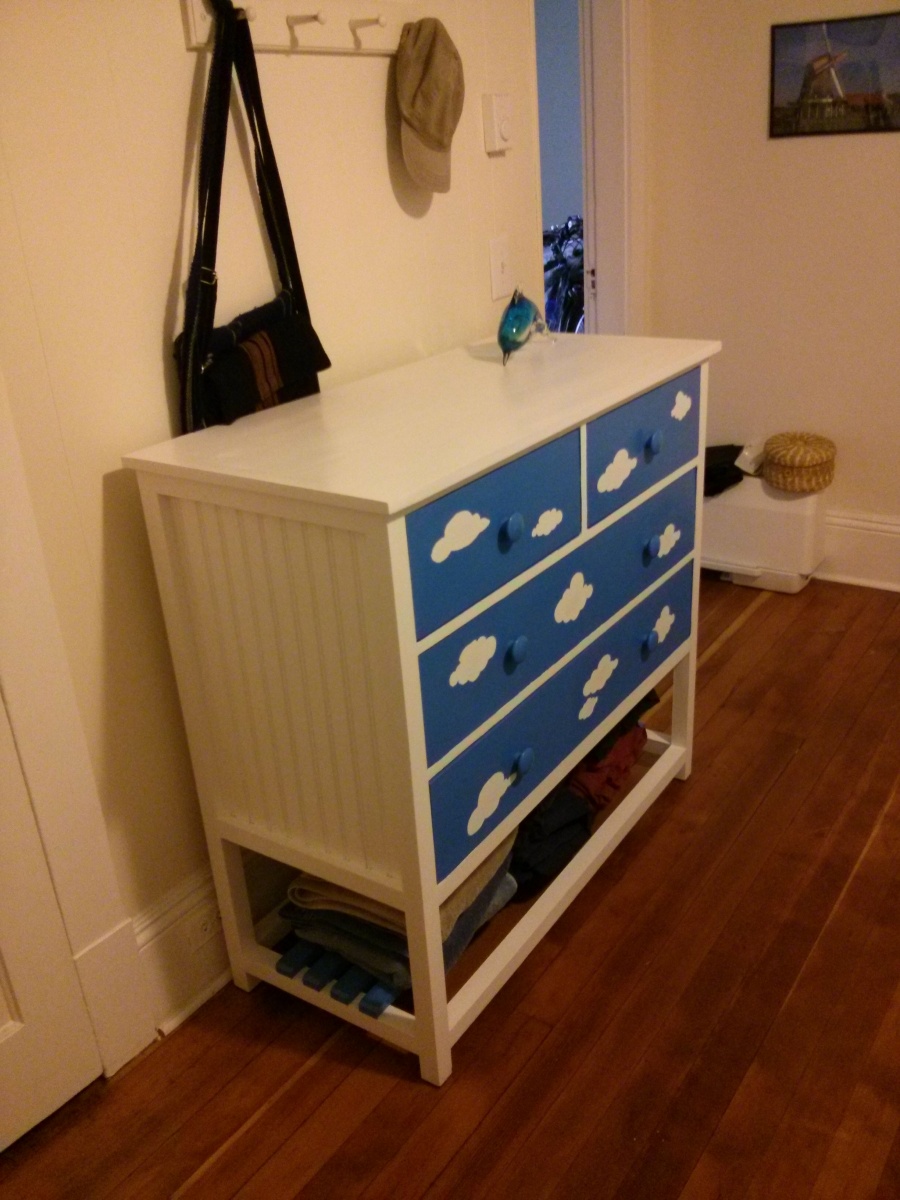
The plans use plywood for the dresser sides, but I used wainscoting panels designed for wall coverings. The panels provide a texture that is a lot more interesting than just a flat side. After a bit of trial and error we went with a cloud theme on the front, which I think looks really cool. In the end the dresser took a lot longer than I expected, but it’s finished now, and works really well – we use it everyday. We have it standing next to a dresser from Ikea, and the one I built looks a lot better and feels much stronger 🙂
-
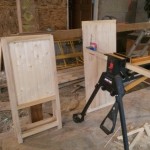
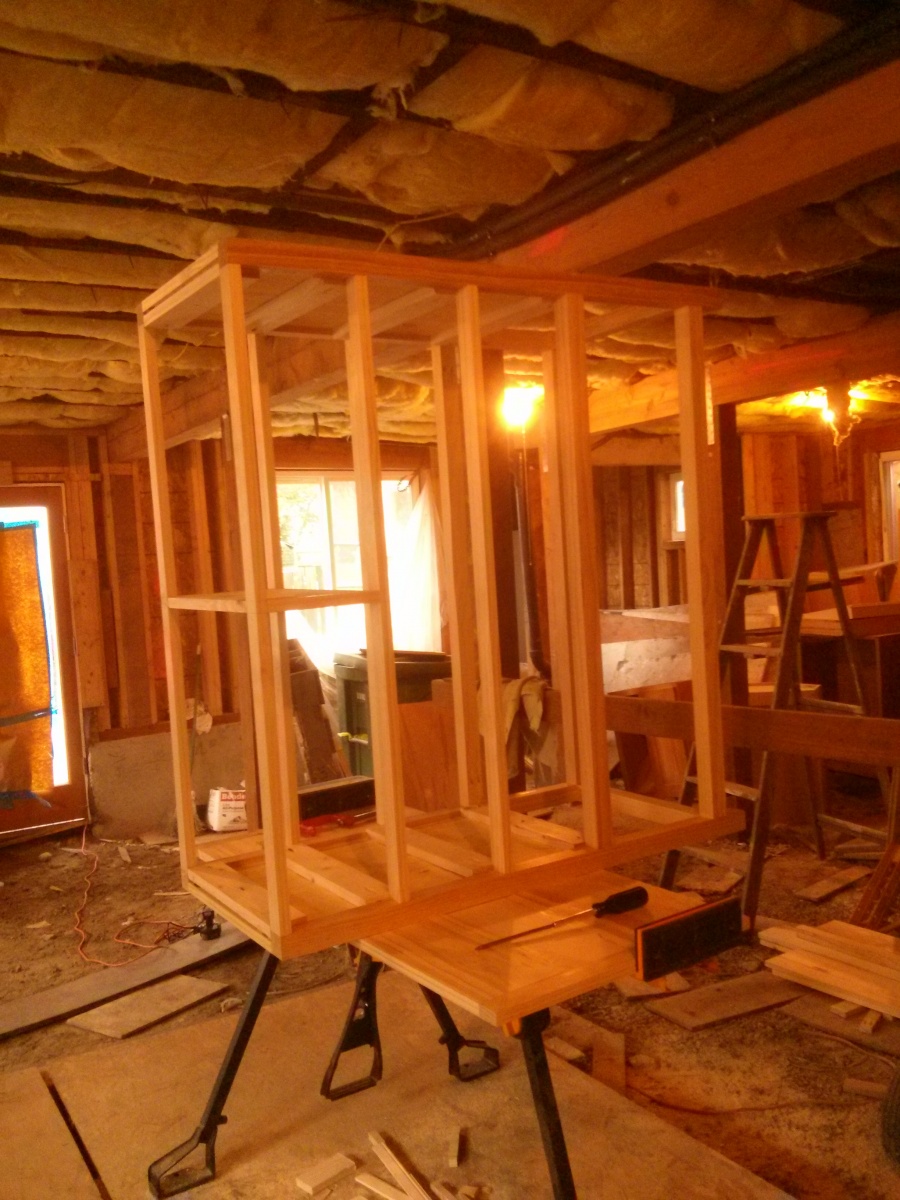
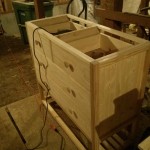
- Starting with the dresser’s sides
-
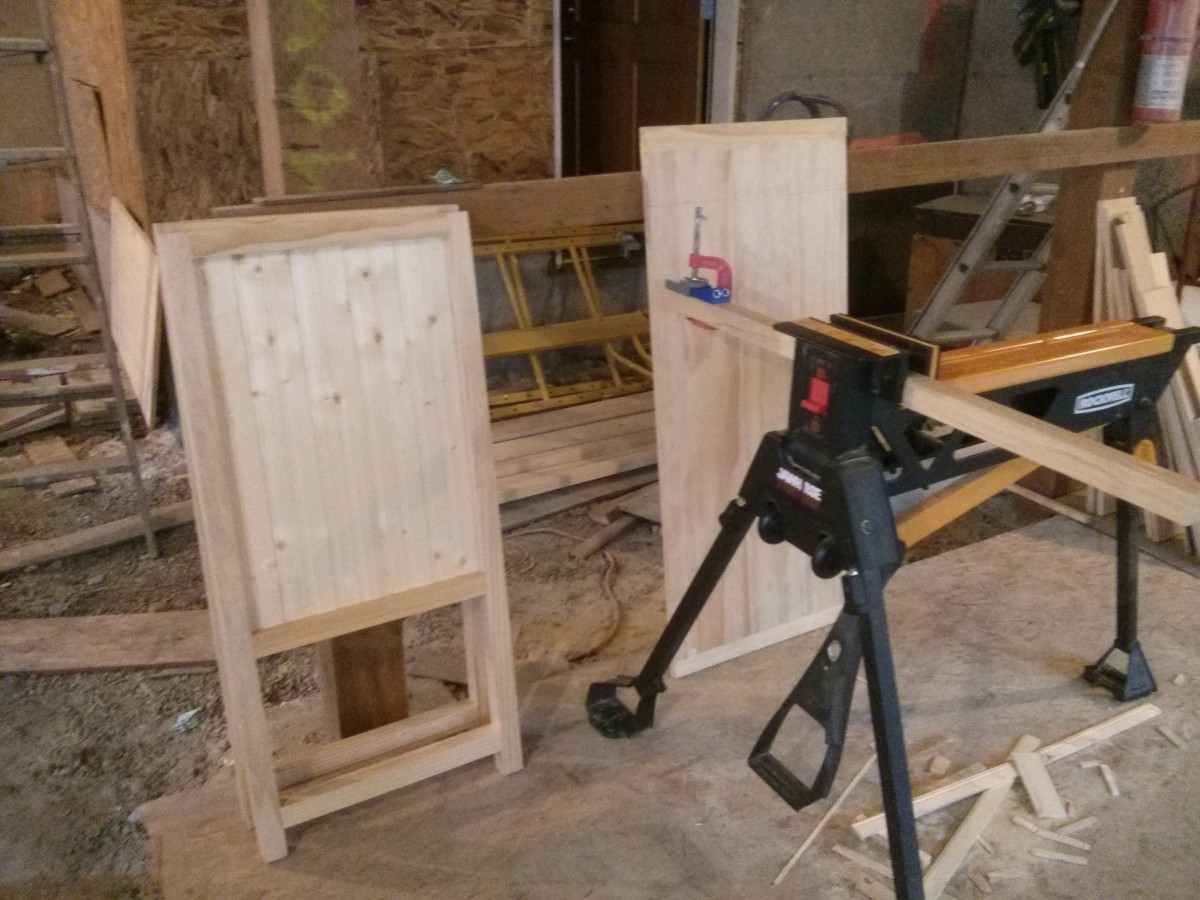
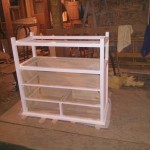
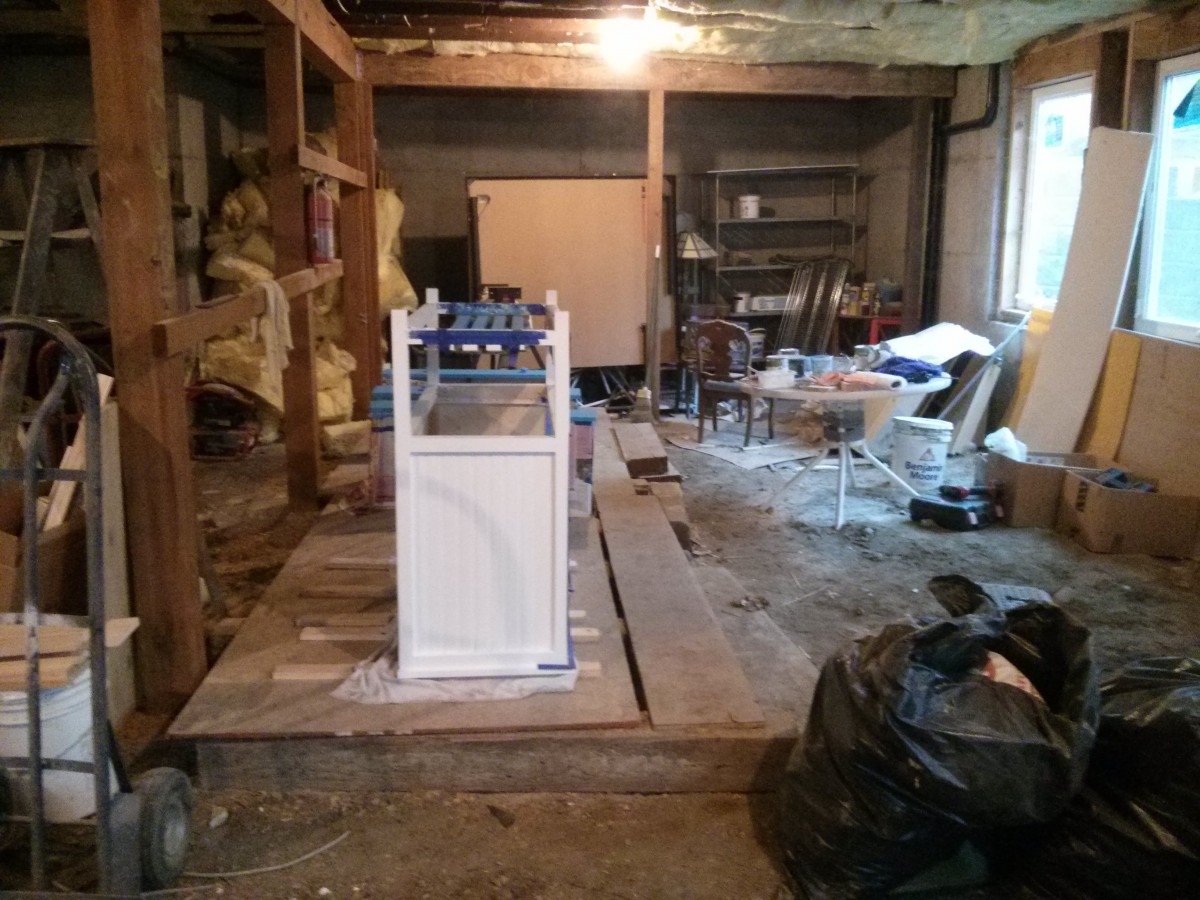
- Assembling the frame
-
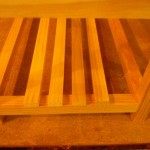
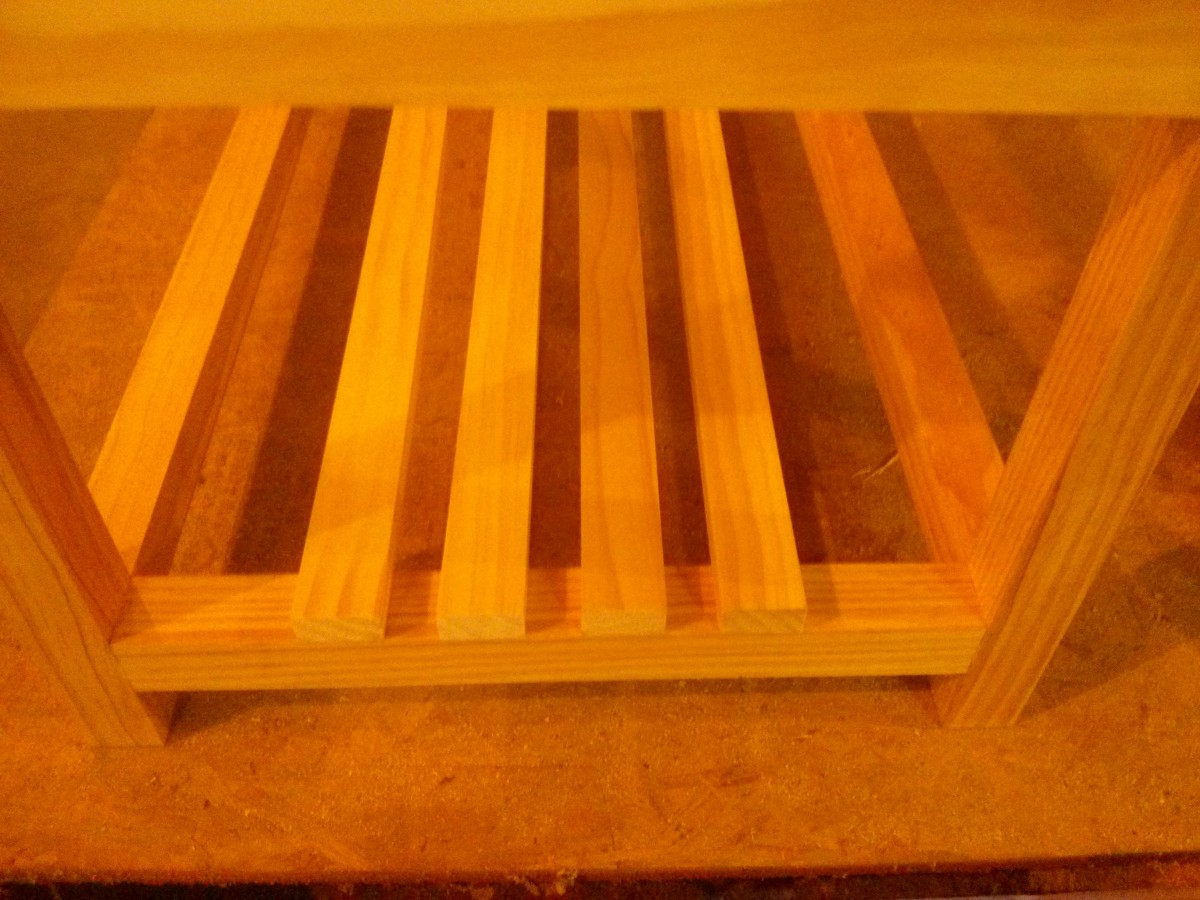
- The dresser bottom
-
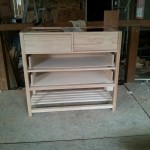
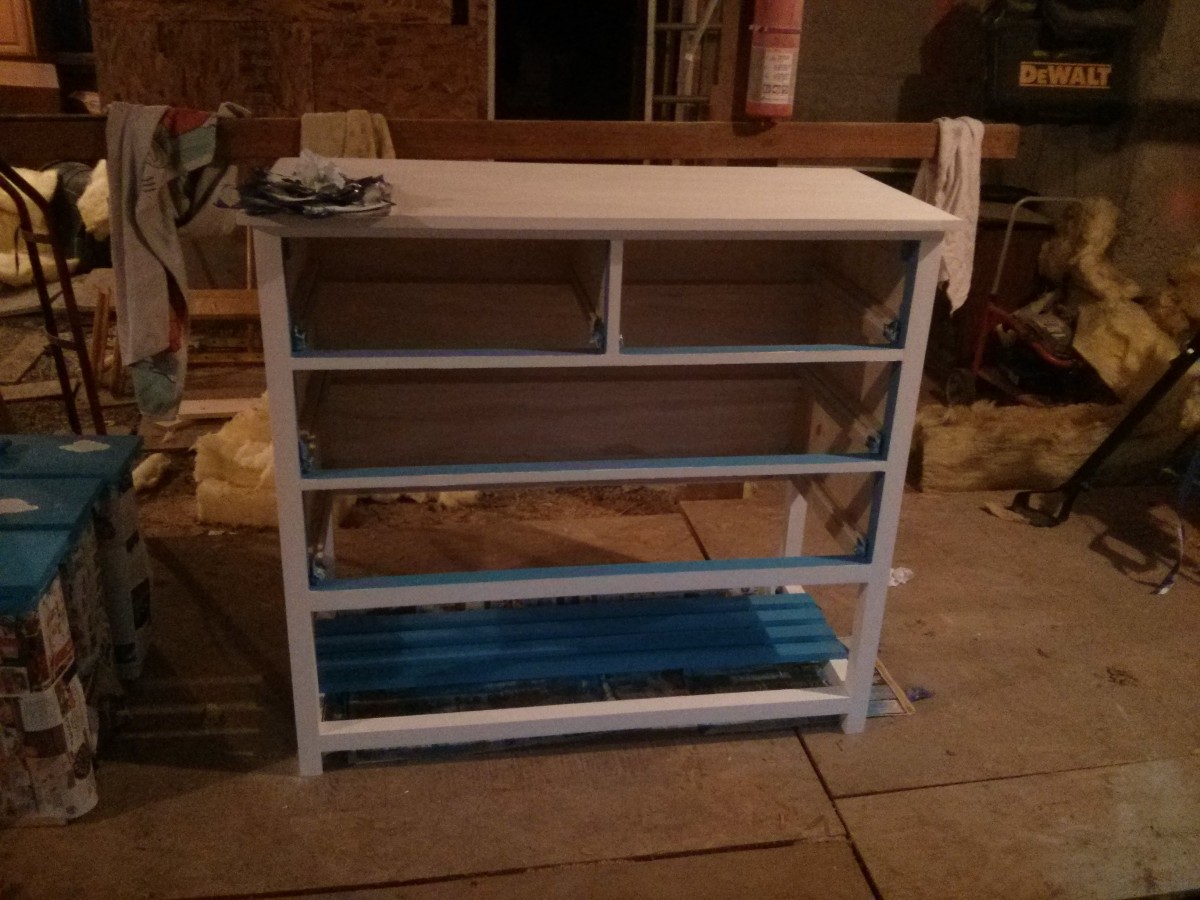
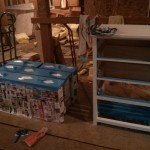
- Fitting the drawers
-
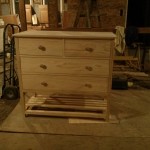
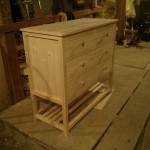
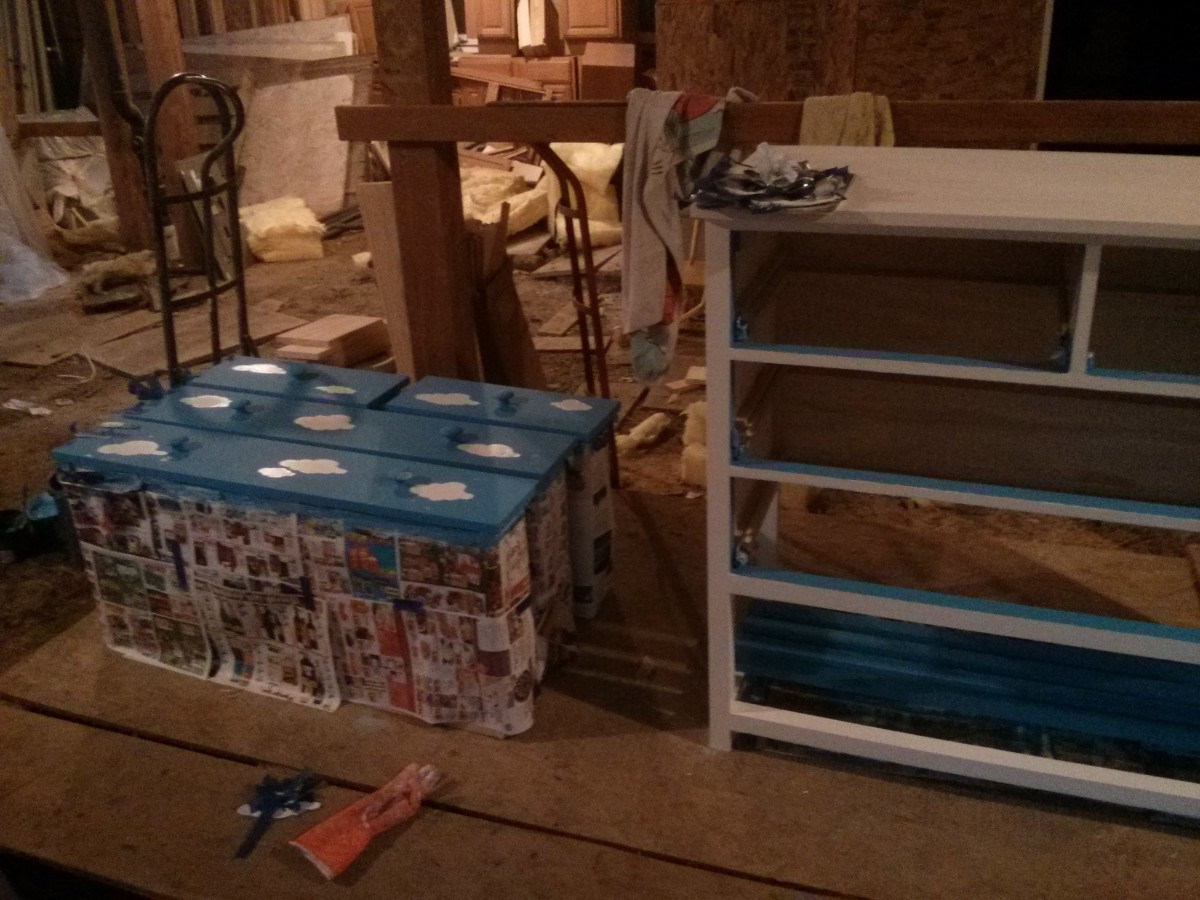
- With the drawers
-
- With the drawers
-
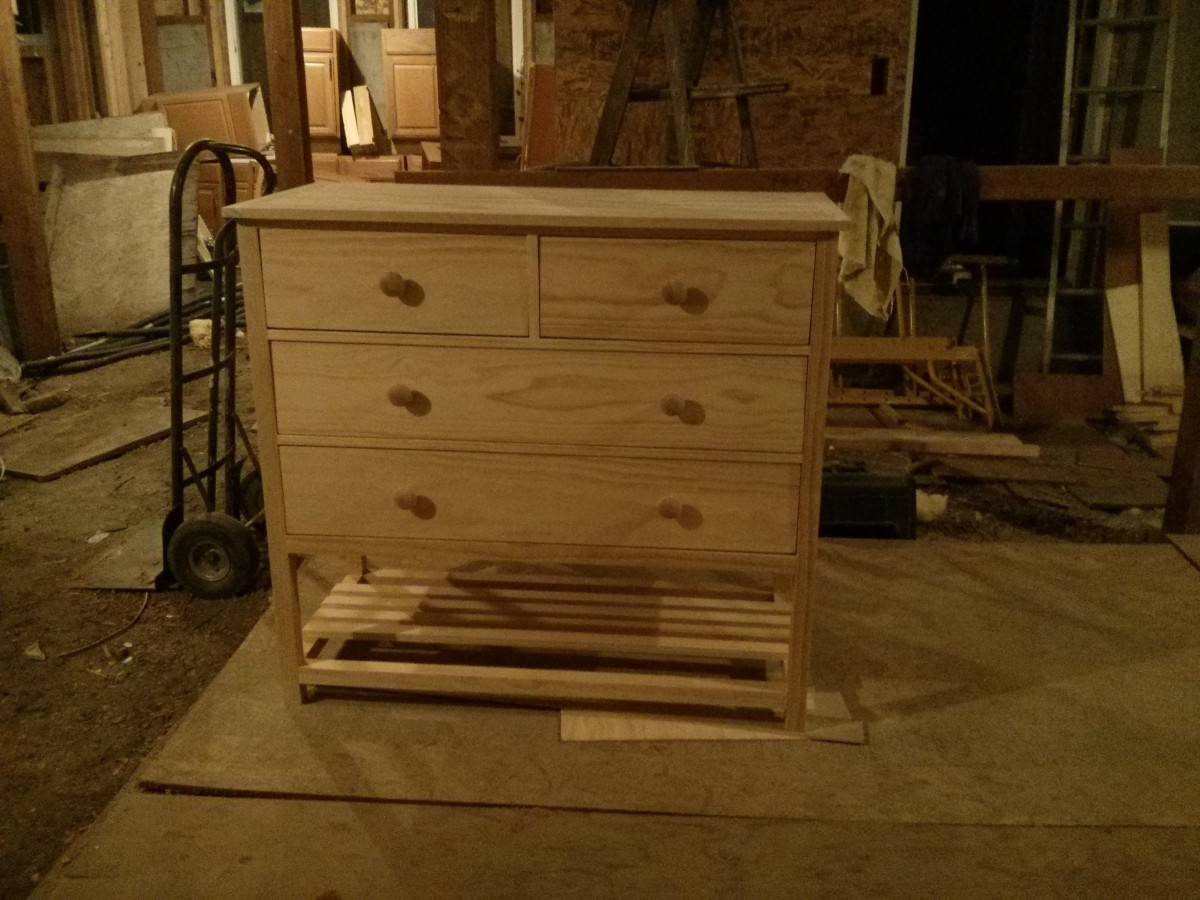
- After adding the top
-
- After adding the top
-
- Painting the frame
-
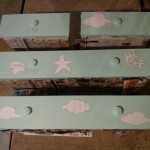
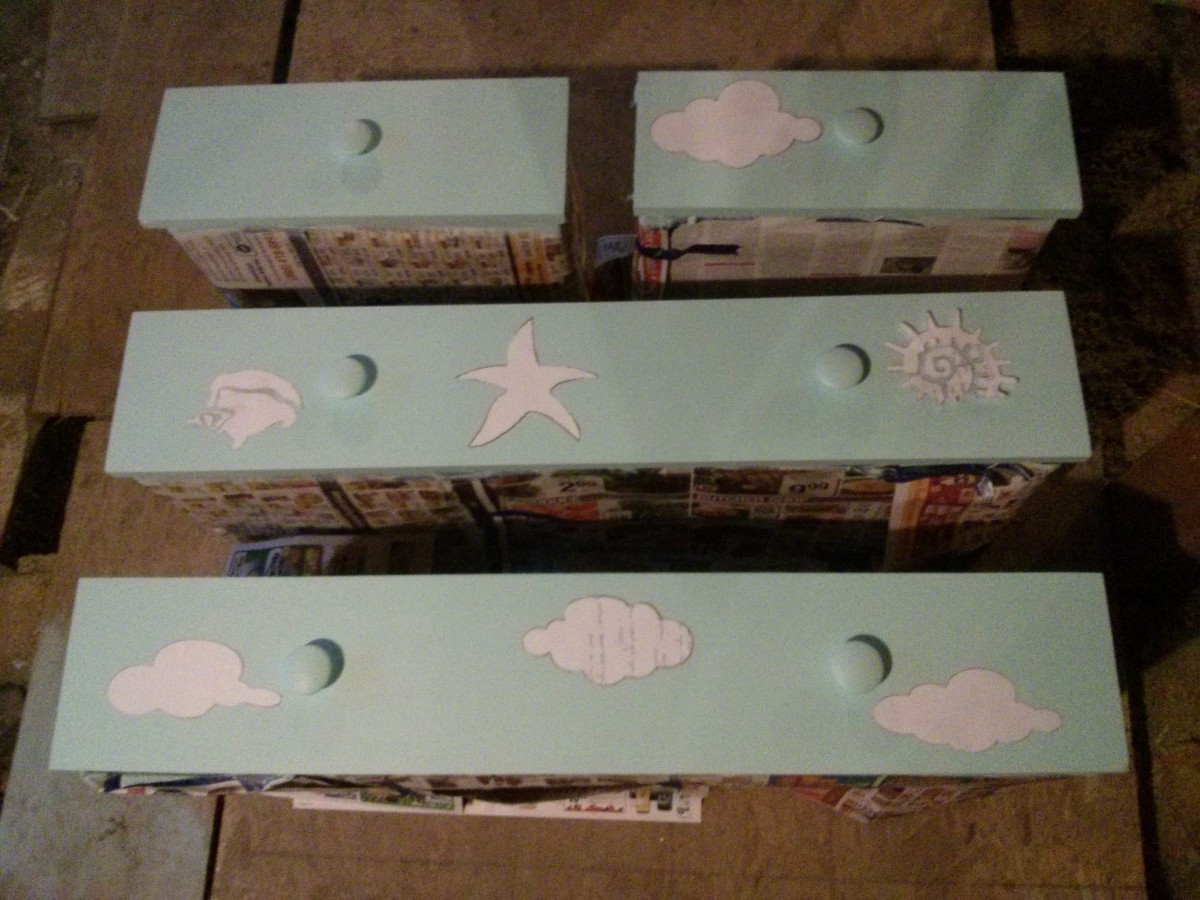
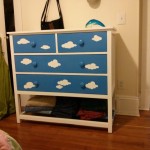
- The original paint scheme was aqua blue with sea shells. It seemed like a good idea when we thought it up. After painting the drawers and placing the sea shell stencils, the result was not so good. So we went to plan B and used the clouds with the blue background. Which turned out much better.
-
- Masking to paint the dresser bottom
-

- Finished painting the frame
-
- Finally finished painting the clouds!
-
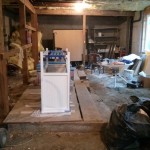
- All assembled! In the backyard/paint studio
-
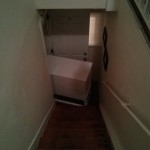
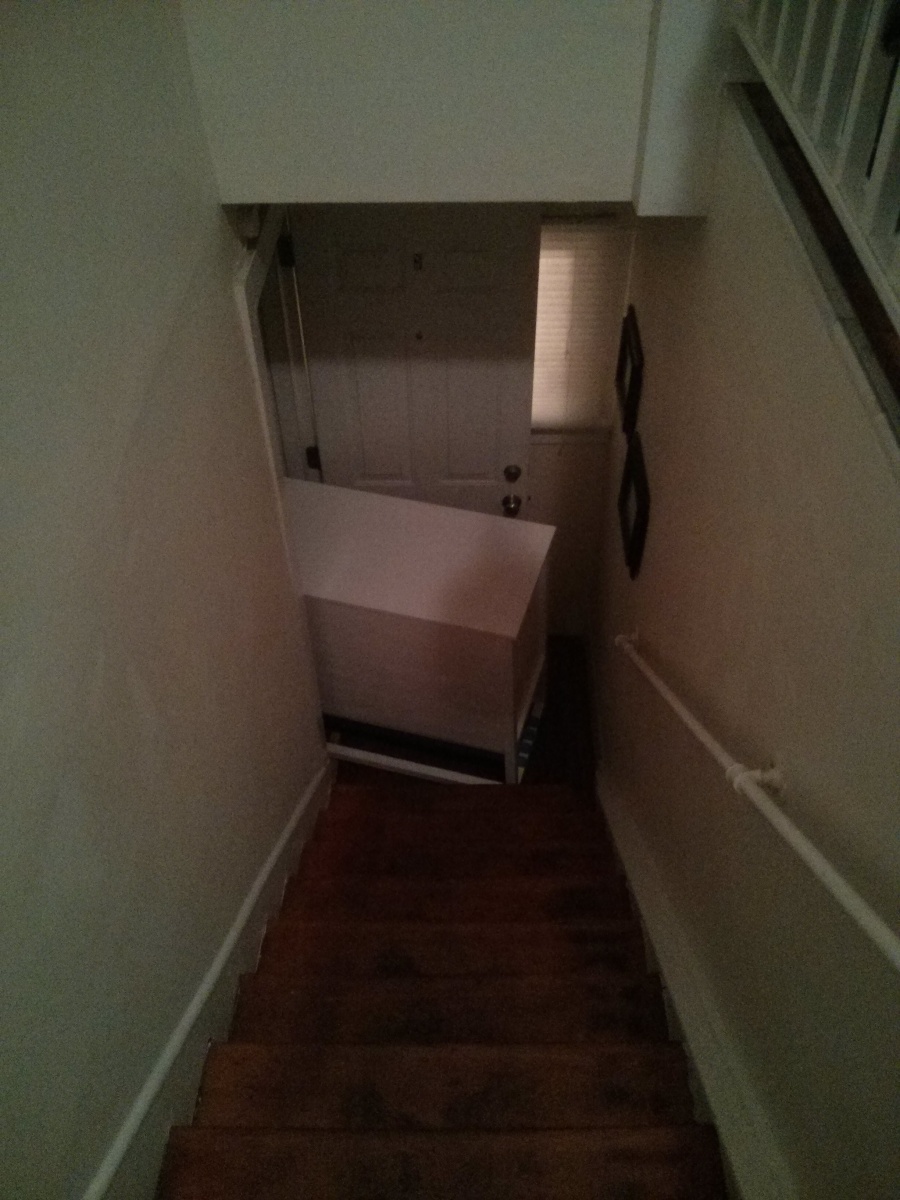
- Getting the dresser up the stairs into our apartment was much more difficult than I expected. I hadn’t measured the width of the front door beforehand, and it turned out the dresser barely fit through the door. If it had been a couple inches bigger it would still be in the front yard.
-
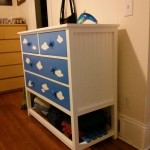
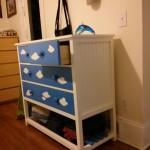
- After a couple weeks of waiting, the finished dresser is finally at home in the bedroom. We had to leave the finished dresser on the porch for weeks before we were able to actually use it, because the fumes from the paint were so strong
-
- The sides are made up of wainscoting panels. This wasn’t part of the original plans, but I think it looks cool.
-
- The drawers!
-
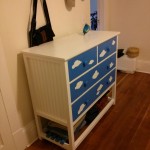
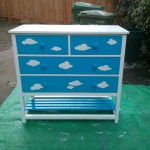
- The finished dresser
-
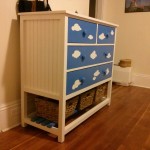
- The finished dresser